Bender Instructions and more
50000: Eyes, Centered Eyes • Circles, Coils, Loops • “S” • Gauge • Plane Bends
54000: Rings, Ring Shanks • Bangle Bracelets • Elliptical Bracelets
55000: Eyes, Centered Eyes • Circles, Rings, Coils • “S” • Gauge
Other: Edgebending • Form-Matic Handle • Close Follower
Making Eyes or Centered Eyes with Duo-Mite 50000
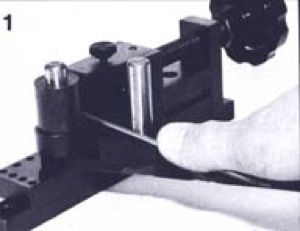
To make eyes of centered eyes clamp the material between the jaw and the circle die. Insert the follower pin into the closest suitable hole behind the material.
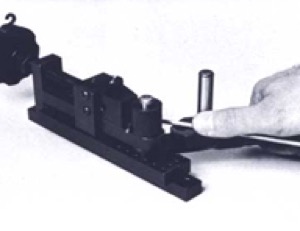
Pull the handle in a clockwise direction for 1/4 turn or 90°. Note: Holding the material down with light thumb pressure on the holder will produce parallel bends.
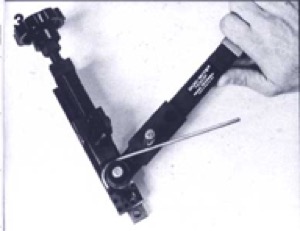
Loosen the knob and reposition the material and handle so that the 90° bend is now beyond the starting position or directly opposite the handle.
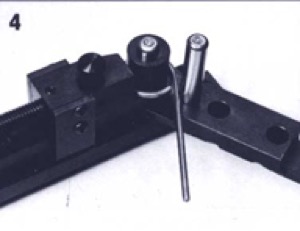
Reclamp the metal securely and continue to bend one full revolution or until the material meets itself. In the making of a circle it is necessary to slightly overlap the turn to compensate for the metal springback.
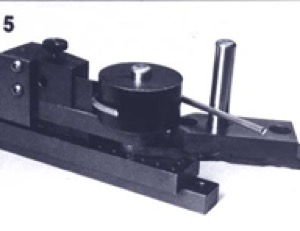
When working with heavy wire gauges, it is recommended that, because of slippage, the sharp angle die be used to hold the metal.
Place the sharp angle die on edge in front of the jaw and center the wire across its hole. Clamp the wire between the sharp angle die and tighten firmly. Bend as required.
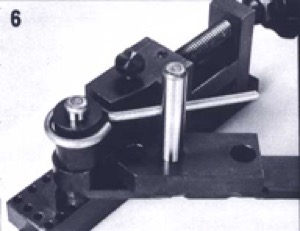
To center the eye, loosen the knob and rotate the material and the handle to the starting position. Move the follower pin to the opposite side of the material. Reclamp the metal. Move the handle in a counter clockwise direction until it stops against the bender.
Bending Circles, Coils, or Loops with Duo-Mite 50000

Repeat steps 1, 2, and 3 of Making Eyes with 50000 except that in starting the third bend, lift the material slightly with your fingers or insert a slightly thicker piece of metal under the material and bend in a clockwise direction.
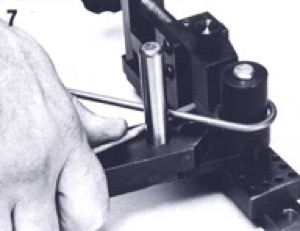
Remove the material if only one circle or ring is desired and cut off excess. However, if a coil or more rings are needed, reclamp the metal and continue as necessary.
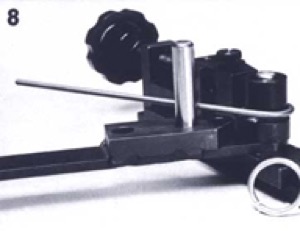
Spaced coils can be made by slipping spacers of a thickness equal to the spacing required between the loops as they are bent.
Making an “S” with Duo-Mite 50000
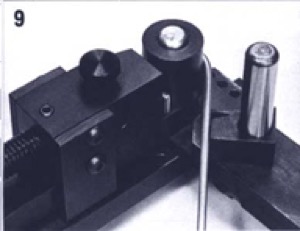
Making an “S” with close adjacent bends is achieved with the sharp angle die, from predetermined lengths of metal. Align the edge of the material with the center of the circle die. Clamp the metal and make one complete turn of the handle.
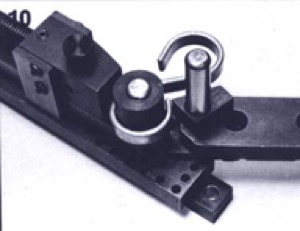
Unclamp the metal and position the first loop on the angle side of the jaw. Place the sharp angle die over the follower pin and bend in a counter clockwise direction.
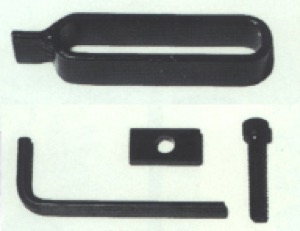
Note: The Close Follower greatly improves the forming shown above and in photo 9.
Using the Gauge with Duo-Mite 50000
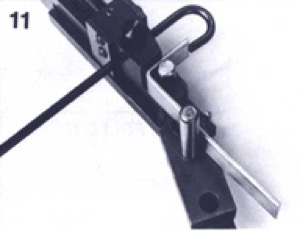
The gauge can be used on either side of the bender. Just slip the gauge through the hole provided in the jaw. Measure the distance required from the center of the bender to the edge of the gauge
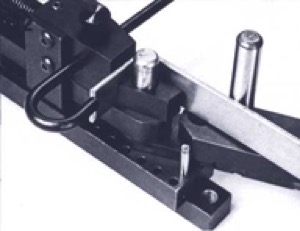
The bend stop pin may be used for repeated bends. Make a 90° bend or any desired angle and insert the bend stop pin in front of the handle. Loosen the knob and remove the material. Repeat as required.
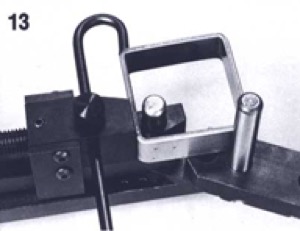
To make a square with sharp angle bends use the gauge and the bend stop pin. Position metal against the gauge as shown in Fig. 11, making one 90° bend. Turn the metal 90°, locating it against the gauge.
Tighten firmly and move the handle to stop pin in a counter clockwise direction. Reposition material to make the final bend.
Making Multiple Plane Bends with Duo-Mite 50000
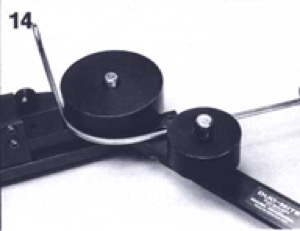
Proper planning of bends within size limitations of the bender is required. The replacement wried handle shown above was first bent forming the 2 eyes with standard 1/2″ dia. circle pin.

The final bends, using a 3″ and a 2″ circle die, were first centered on the 3″ circle die, then, using the 2″ circle die as a close follower, two 90° bends were made.
Making Rings and Ring Shanks with Duo-Mite 54000

Place appropriate ring die on 3/8″ pivot pin. Place end of metal blank between jaw and die. Material should rest on top of handle and on bed of vise in front of jaw.
Clamp end of material securely by turning forward knurled knob. (Rear knob is for locking position of jaw.)
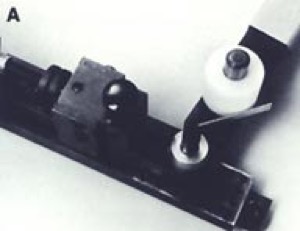
Place 1 1/4″ delrin sleeve over 1/2″ pin in closest suitable handle hole behind the material and begin bending.
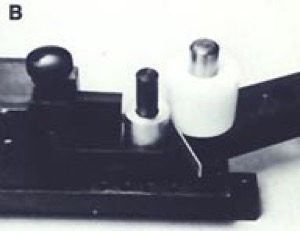
Please see note below for follower pin instructions. Pull the handle in a clockwise direction for approximately 1/4 turn.
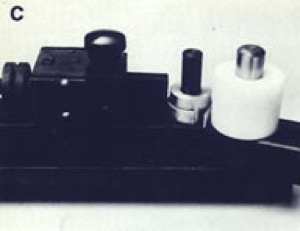
Loosen the vise jaw using Pivot-Lock handle and reposition the material.
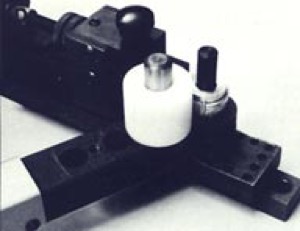
Reclamp the metal securely and continue to bend one full revolution or until the material meets itself. Press handle against vise body to release pressure and remove ring.
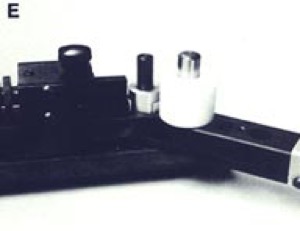
A partial ring shank for use with setting can be formed in the same manner.
Making Bangle Bracelets with Duo-Mite 54000
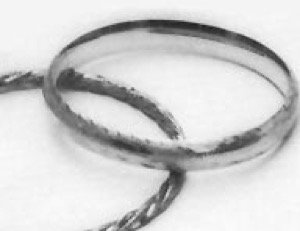
A standard diameter of bangle bracelets is about 2 1/2″. With the special 2 1/2″ delrin die (optional) on the pivot pin, clamp the end of a 7 7/8″ – 8″ piece of material between jaw and die.
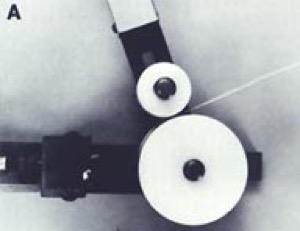
Insert the follower pin with delrin sleeve (1 1/4″ delrin die and 1/2″ pin) into the closest suitable hole in the handle behind the material.
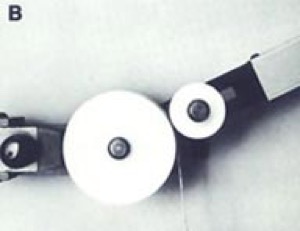
Pull the handle in a clockwise direction for about 1/4 turn, holding material against handle with light thumb pressure to prevent riding up on follower pin.
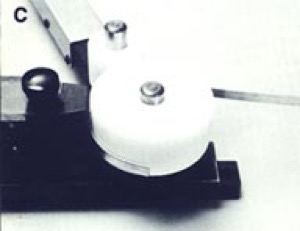
Loosen the vise jaw using the Pivot-Lock handle and reposition the material as shown.
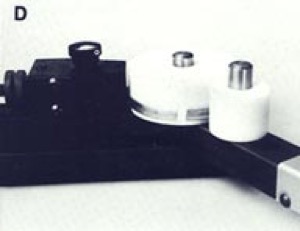
Reclamp securely and continue bending for one full revolution or until the material meets itself.
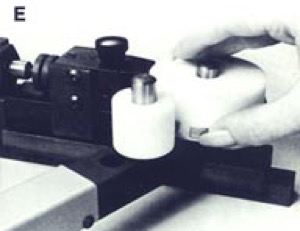
In making bangle bracelets, it may be helpful to slightly overlap the ends to compensate for springback.
Making Elliptical Bracelets with Duo-Mite 54000
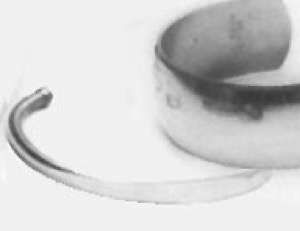
Place appropriate child’s, lady’s, or men’s elliptical die (optional) on pivot pin with die locking pin in the hole directly in front of pivot pin. Center material and tighten jaw.
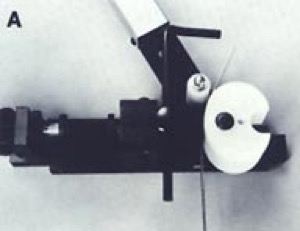
Once center is established, gauge can be set to end as shown. Press Form-Matic handle against body of tool (counter-clockwise) to force spring-loaded part of handle away from jaw and die. Insert delrin sleeved follower pin in closest suitable hole.
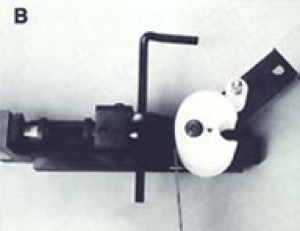
Move handle 90° so that the follower pin completes the bend for that half of the bracelet and snaps into the cut-out.
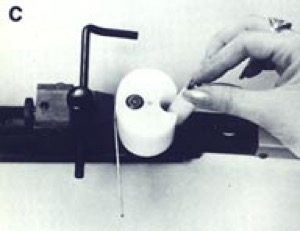
Lift out the follower pin.
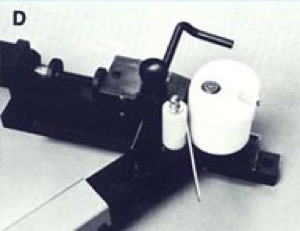
Move handle to the other side.
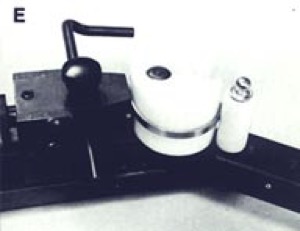
Repeat Process.
Note on Follower Pin
When selection metals for bending, it is desirable to choose dead soft or quarter hard to prevent extensive springback.
When starting a bend, it is sometimes necessary to place follower pin in a hole in the handle that is not snug to the die. Once the bend is started, however, the handle can be returned to the starting position and the follower pin moved to a closer hole.
Making Eyes or Centered Eyes with Duo-Mite 55000
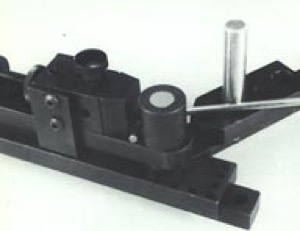
Lock the material between the jaw and the circle die. Insert the follower pin into the closest suitable hole behind the material. Pull the handle clockwise for 1/4 turn or 90°
Note: Light thumb pressure on the material will aid in producing parallel bends.
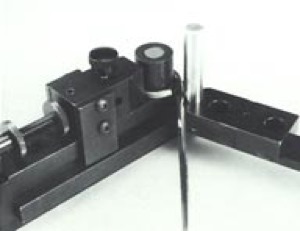
Unlock. Reposition the material and handle so that the 90° bend is directly opposite the handle. Lock and bend for one full revolution or until the material meets itself.
Note: In making a circle, slightly overlap the turn to compensate for springback
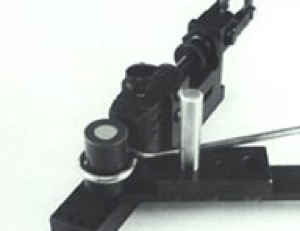
To center the eye, rotate the material and handle to starting position. Move the follower pin to the opposite side. Re-lock and move the handle counter-clockwise until it stops against the bender.
Making Circles, Rings, and Coils with Duo-Mite 55000
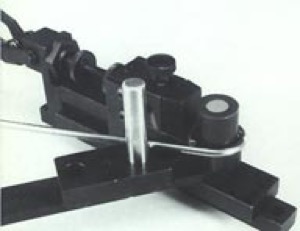
Follow steps 1 and 2 for making eyes. Slightly overlap the turn to compensate for springback
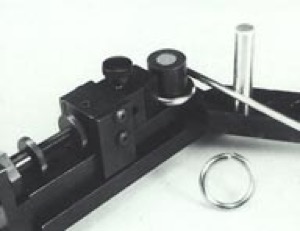
If only one ring is needed, unlock and cut off excess. If a coil is desired, relock and continue as necessary. Spaces can be used to maintain equal spacing in coils.
Making an “S” with Duo-Mite 55000
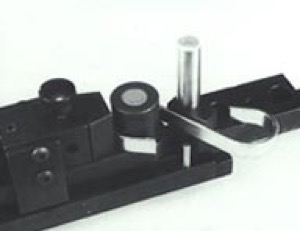
An “S” shape is achieved with use of the sharp angle die. Align material with the center of the circle die, lock, and make one complete turn. Lock and bend in a counter clockwise direction. Repeat first step.
Note: Close Follower accessory greatly improves close adjacent bends as in “S” shapes.
Using the Gauge with Duo-Mite 55000
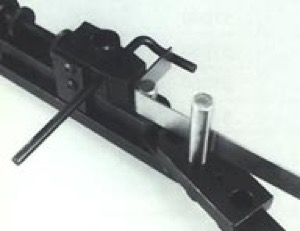
The gauge can be used on either side of the bender. Slip the gauge through the hole provided and tighten the gauge locking screw.
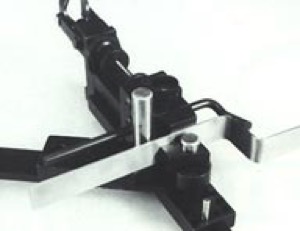
The bend stop pin is used for repeated 90° bends.
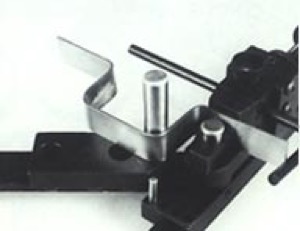
In the case of handle shape forming, the combination of the gauge, stop pin, and the pivot-lock allow for rapid production with one set-up procedure.
Edge Bending
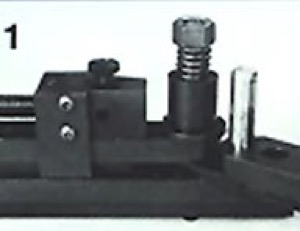
Insert the forming post into the bender with the threaded part of the post up. Turn the bender on its side and place the small washer over the 10-32 x 750 lg. cap screw.
Insert the screw and washer into the bottom of the forming post and tighten with an Allen wrench.
Turn the bender over and mount in a vise or to a bench. Select one disc of the proper size for the material and place it over the forming post.
Put on either the 7/8″ or 1″ diameter compression sleeve (7/8″ for use with 2 smaller discs). Put on the spring and nut.
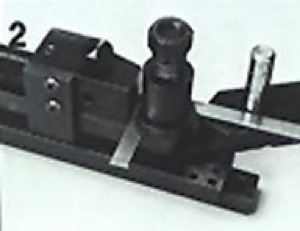
Insert the metal under the disc and lock the jaw against the material. Tighten the nut against the spring, applying pressure to the metal.
Holding the metal flat during bending, make short movements of the handle with the follower pin close to the metal.
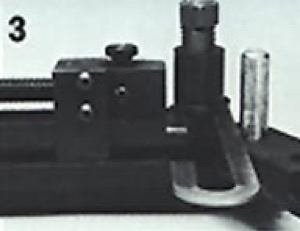
Bends under 180° can readily be slipped out from under the disc by loosening the nut slightly.
For bends over 180°, the nut, spring, collar, and disc must be removed.
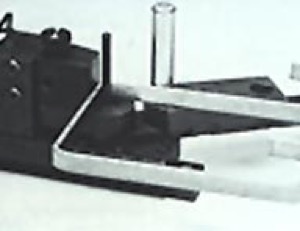
Combined bending of normal bends and edgebending greatly expands the usage of the bender. A properly planned piece of this type, such as the one pictured, could be made in 4 bends.
Please Note:
Over-tightening will not allow the metal to pass under the disc and insufficient pressure will allow the metal to deform.
The two edgebends were made first, followed by standing the metal on edge and using the 1/4″ circle pin to complete the two 90° bends.
Form-Matic Handle
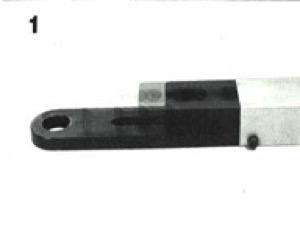
The Form-Matic Handle with its exclusive spring-loaded follower will gently glide around the contour of your die.
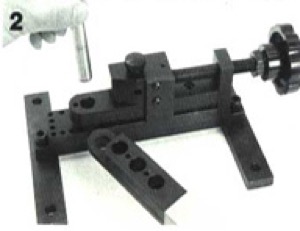
To install handle, lift out pin. Slide handle into place where shown and align holes. Replace pin.
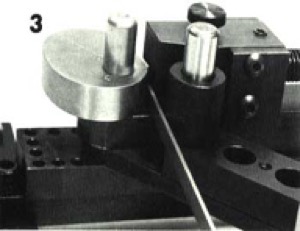
With matieral tightened in jaw, press Form-Matic Handle against body of tool (counter-clockwise) to force spring-loaded part of handle away from jaw and die.
With handle in retracted position, install Follower and begin forming.
Note: it is advisable to put a little oil or grease on the tool where the handle makes contact.
While the handle will follow nearly all shapes, it is best to balance the configuration around the center-post. Here a simple hex nut makes an excellent die for a customer.
Inclines to nearly 5/8″ can be followed in one setting. If your form is more sever, move Follower to second hole or change to another diameter roller.
Close Follower

The 51200 Follower Kit contains a separate screw for basic and Form-Matic handles. The second 1/2″ diameter pin needed for set-up is contained in your Duo-Mite Bender Kit.

Place two (2) 1/2″ diameter pins into the last two holes in the handle and drop the Close Follower over the pins. Insert cap screw through the hold down clamp and in between the two pins. Turn screw into handle.

When forming around small diameter pins a narrow jaw face allows the Follower to be positioned close to the working area. Use the Sharp Angle Die as a vise extension or, if equipped with Vari-Vise, 1/4″ blade.

Lock material in place with handle positioned in back of metal. Slide Follower as tight to the material as possible and lock down with wrench.

Form in normal bending. Using minimum clearance for the metal being formed will eliminate “springback” of material and tight tolerances can be maintained.

It may be necessary to change the position of the Follower several times when forming intricate pieces. When making multiple parts, form all primary bends first, then second, etc.
